How to Tile a Shower Wall

A retiled shower gives any bathroom a new lease of life. With our helpful guide on how to tile a shower, you will be able to transform your shower space into a lap of luxury whilst saving money!
Start With A Plan
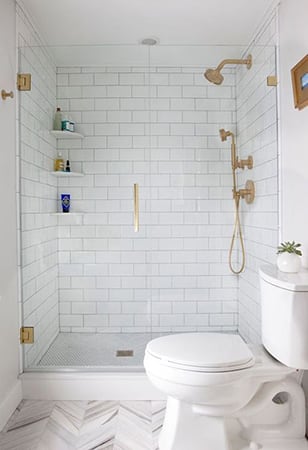
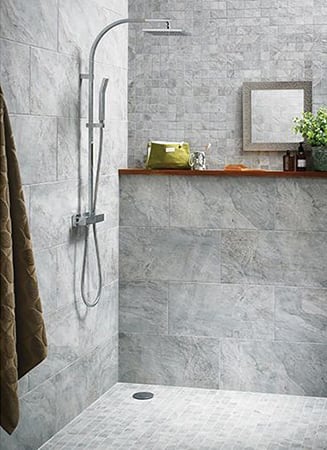
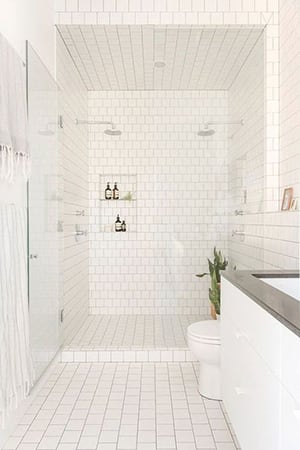
The best way to ensure that your shower tiling is a success is by considering the look you would like to achieve. You may prefer to tile your shower from top to bottom for an ultra uniform finish. However, if you are on a budget, why not half tile your shower and use the rest of the space to bring a harmonious wallpaper or paint colour into your bathroom for an extra personal touch!
When choosing how you would like to tile your shower, you can get really creative due to an array of exciting tile patterns that are available. Brick Bond and Linear pattern tiles offer a traditional and neat style that can be modernised by adding a pop of colour to every few tiles. Alternatively, you can tile your shower into a beautiful art piece by opting for an Arabesque or Herringbone design that provides a unique and stand out visual to your shower space.
Always be sure to get sample tiles to compare with the colour scheme of the rest of your bathroom and the lighting, so when it comes to tiling your shower, you have the peace of mind that you have chosen the perfect tiles to suit your vision.
Preparation and Measuring

Before tiling your shower, ensure that the area you are going to tile is dry and level. Prepare the tiling space by stripping the wall down to the plaster. Having an even surface is essential for successful tiling, so make sure to have any holes or defects in the plaster smoothed over well in advance prior to tiling your shower.
Measuring your wall space correctly is crucial to achieving the right amount of tiles for your desired space, but don’t be daunted! With our guide, measuring is made easy.
Measure the width of the wall space you intend to tile, then divide by the measurement width of one individual tile that you have chosen to tile with. Do the same with the length. Multiply the length and width together to find out how many tiles you need. Always buy at least 10% more tiles than your result number, breakage can be likely when tiling your shower, so having handy spares is always a positive. You’re ready to go!
On Your Marks, Get Set, GO!
Marking your wall beforehand is a great way to ensure your shower tiles will be placed on evenly to ensure that they look level and protect the wall from moisture to its best ability. To do so, a simple and cost-effective method is to use a plank of wood as a gauge stick to make your tile markings. This saves you having to hold up each tile to the wall and reduces the chance of error.
How to Mark Your Wall
Take your tiles and space them horizontally alongside the plank of wood. Be sure to leave a gap for tile spacers after each tile. Once you have reached the end of the wood, make small pencil markings to record where each tile will fit. This way you are sure of how many tiles can fit the length of your shower space.
To mark the width number of your bathroom wall tiles across your wall, simply repeat this process with a new plank of wood for your gauge stick. To do so, turn your tile around vertically alongside the stick and once you have reached the end, you can now mark where the width tiles will be placed.
Rest each gauge stick level against the area you are tiling and mark on the plaster where each tile will be placed.
Cutting Your Tiles

When tiling your shower, you may have chosen a wall that has an alcove or arch that requires tiles to be cut. To do so, invest in a tile cutter which offers precision and safety. This tool is invaluable and won’t break the bank! Before you begin, mark how much needs to be cut on the back of your tile, then use your tile cutter on a safe and even surface. Always use eye and hand protection when cutting.
Install The Tiles
To tile your shower, apply your chosen shower-friendly adhesive a small part of the wall at any one time. By doing so, this prevents the adhesive from hardening before you are able to place all of your tiles on the surface. When using the adhesive, a tiling trowel is the best tool for the job due to its ability to spread the paste evenly across your shower walls!
When tiling the shower, apply one tile at a time for accuracy and an even finish by pressing them into the adhesive. Be sure to purchase tile spacers to place securely between tiles. The spacers are essential for attaining a straight and symmetrical look. Carefully remove all of the tile spacers 20-30 minutes after the adhesive begins to set.
Time To Grout
We recommend investing in a water repellent, pre-mixed grout to use for tiling your shower. Pre-Mixed grout is of professional quality and its water resistance aids in repelling mould and unwanted moisture keeping your new shower tiles fresher for longer.
Wait a day after your adhesive has dried to grout your new tiled walls. Start by using a rubber grout finisher and apply the mix to the spaces in between your tiles.
This step reinforces the stability of your shower tiles. You may find that the grout spreads onto your tiles, but don’t panic! After around 100cm of grouting, use a clean damp cloth to wipe away excess product, keeping your lovely tiles looking brand new! It is essential to do this as you go along to prevent the excess grout from hardening on your tiles.
After an hour, your grout will have dried and your work here is done. Tiling a shower has never been so easy! Explore our website today to discover even more ways to bring your bathroom to life.
